
Nov. 3, 2015: Just returned from our two-day survival “Shakedown,” (It used to be called Happy “Camper,” for some unknown reason). This course is a two-day (one-night) course in surviving on the Ice while awaiting rescue. This course is required of all groups heading out into the “deep field” camps.
It started out with a two-hour lecture at the Science Support Center (SSC) here at McMurdo, where two Mountaineers (they’re now called “Field Safety Coordinators”) went over principles of surviving out on the ice for a few days while awaiting rescue. This included: building a snow kitchen (1/2 igloo to act as a wind screen), how to melt water on a camp stove (a little more complicated than it sounds, but not a whole lot more), and how to pitch a tent in high winds and blowing snow (both of which we experienced when we went out for the field portion of the training).
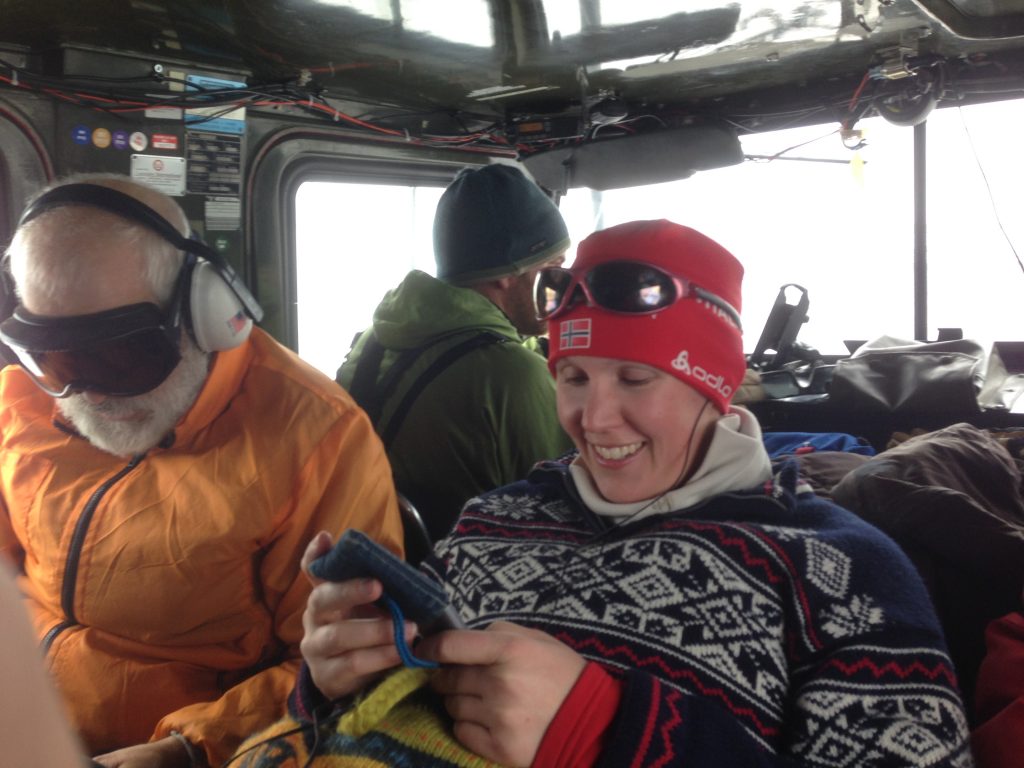
After our lecture, we loaded the Hagglund for our trip out onto the Ice.

Loading Hagglund before heading out to camp

Zhao

Jerry
Passing Scott’s Base (Kiwi base between McM and the ‘Transition” where the sea ice meets the Ross Island, we headed out towards Willie’s field (the smaller of the two airstrips at MCM) and then hung a left and went “offroad” for about one kilometer to the Happy Camper camp site.

Unloading at camp site
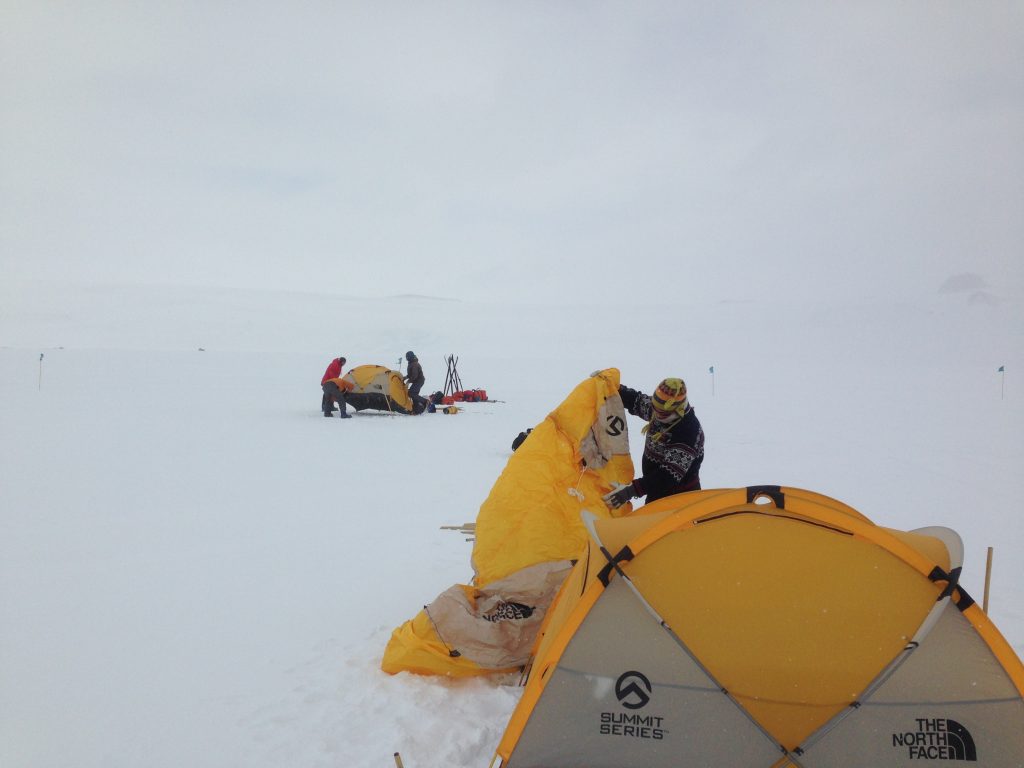
Setting up camp
After laying out our tent line, 90° from the road, we started setting up camp. As soon as we started setting up the tents, the wind picked up and it was pretty blustery. It was as if the mountaineers had ordered the wind for us at just the right time, to make the training exercise very “real world.”
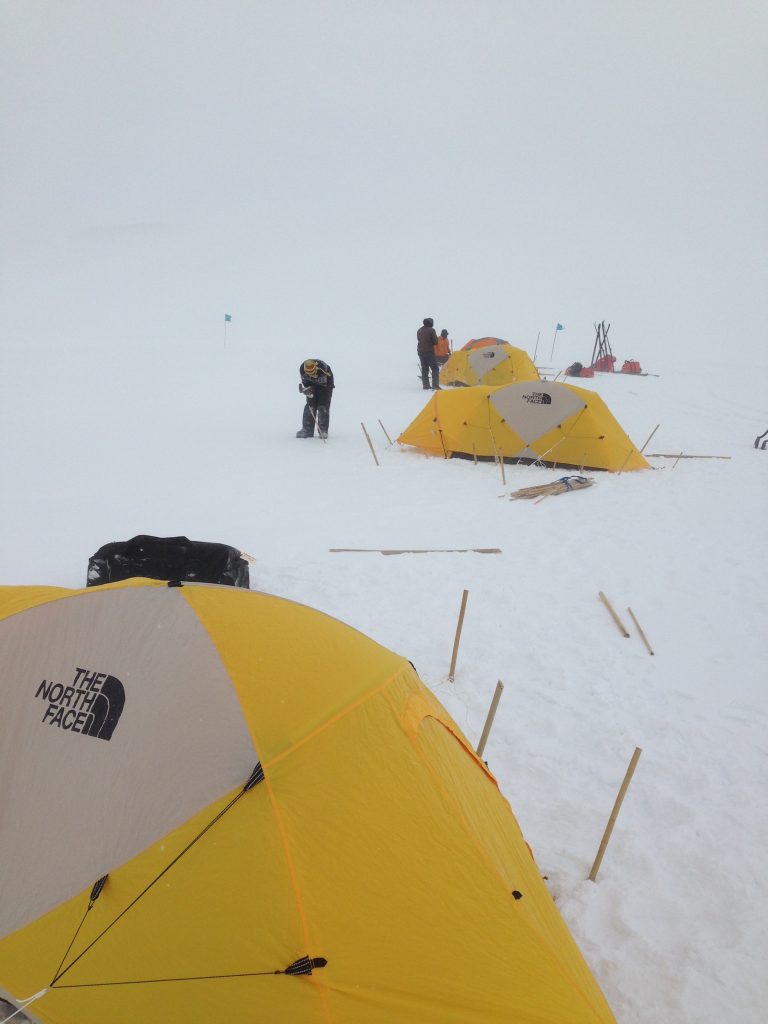

Staking tent and rainfly
Note the bamboo stakes. The snow was the right consistency for staking vertically, rather than using horizontal “deadman” stakes on the rainfly guys, as one would typically use on the Ice. Also, we used every possible stake point and guy because, as stated earlier, the wind was howling. Also note the snow fillets we’ve built up around the tents. This is to keep the loose, wind blown snow from filtering in between the rainfly and the tent itself. (Rainfly is a bit of misnomer, since it never rains here. The fly is more about adding an additional layer of insulation to the tent itself.)
After the tents were up and our gear stowed inside them, we began building our kitchen and its accompanying wind wall. Building the kitchen consisted of sticking a large toothed saw into the snow and sawing two parallel straight lines about one foot apart and about five feet in length. Then sawing lines one foot apart, connecting the two parallel lines to form blocks about one foot square. Then insert a square edged shovel into the first short line, and start prying blocks up out of the snow. The resulting blocks were pretty light, and had the feel and sound of Styrofoam blocks (they squeaked when you rubbed them together). Thus, the floor of our kitchen served as the quarry for our ice block wind walls.

Sawing block for our kitchen wind screen

Shelf for stove
We continued to excavate the blocks from the floor of our kitchen until we had a shelf at just the right height to set our stove on, and a bench for everyone to sit on and eat.

Making our cooking area
Melting snow to make water takes a bit of time, and you have to be careful not to burn it. Yep, burn it. If you try to melt the snow without “seeding” the pan with some water at the bottom, the microscopic dust particles suspended in the snow can burn and really stink up the pan.

Melting snow for water to cook our freeze-dried food with

Mmmm, expired Mac & Cheese and “Roma Pasta” out of a bag
Ah, the fruits of our labors…